Published: 10-04-2016
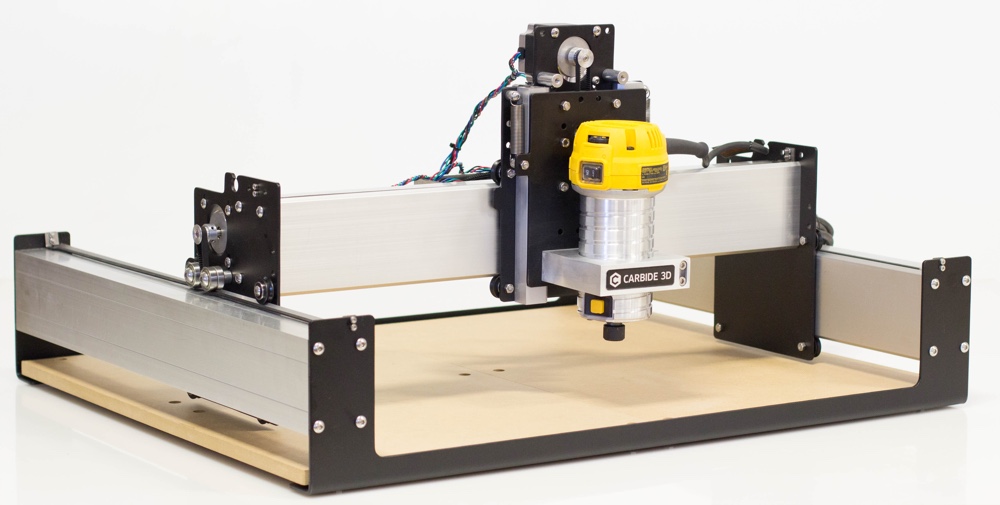
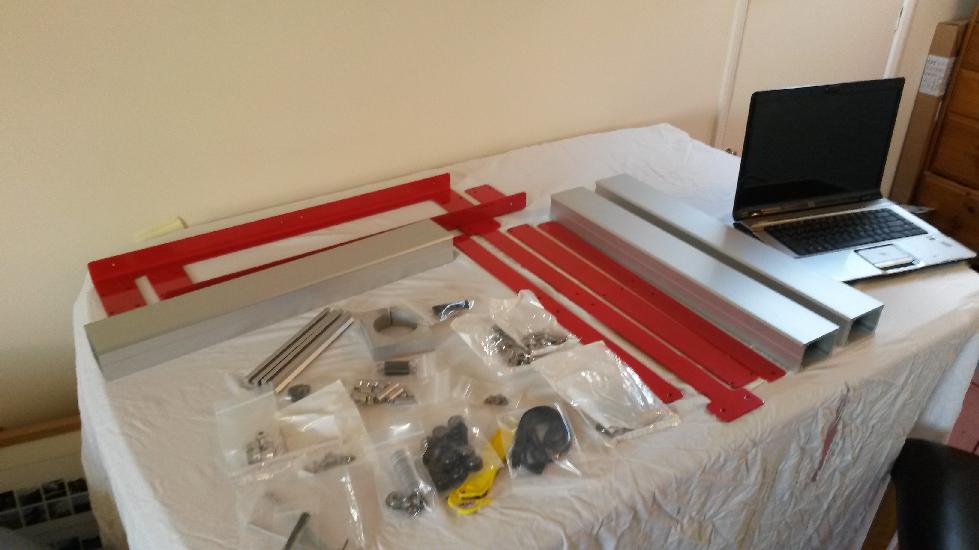
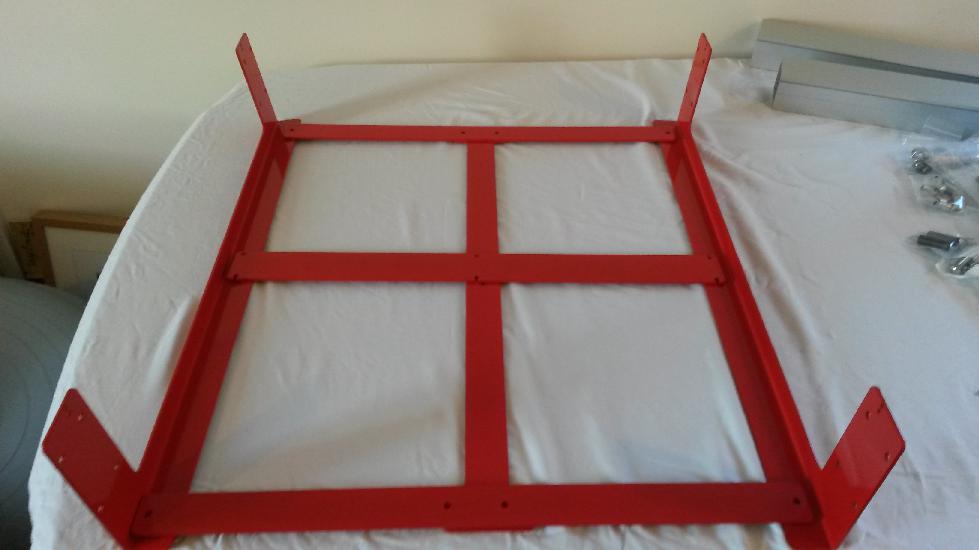
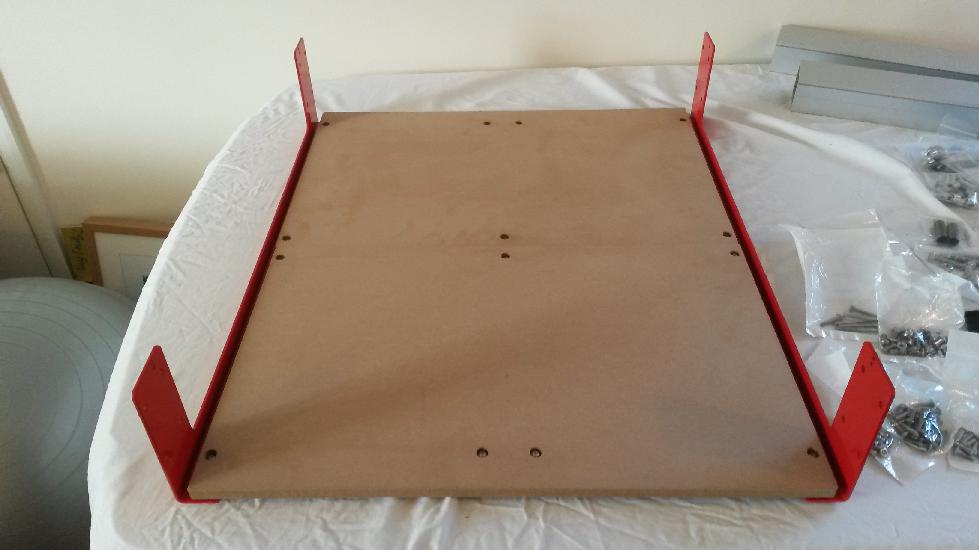
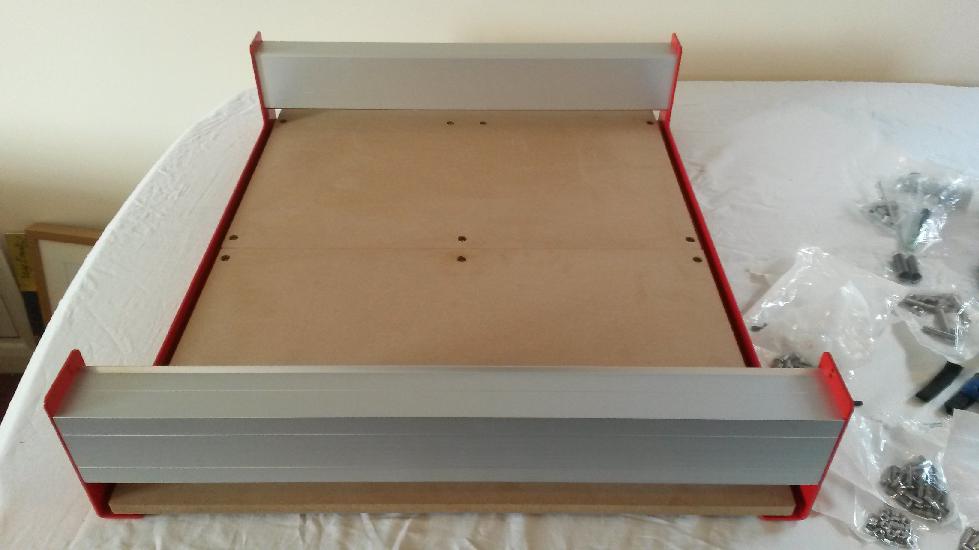
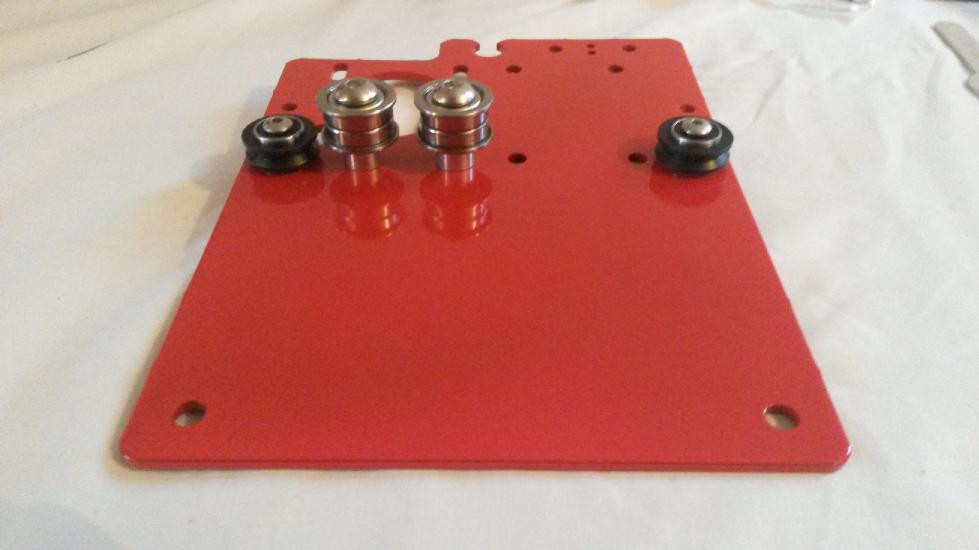
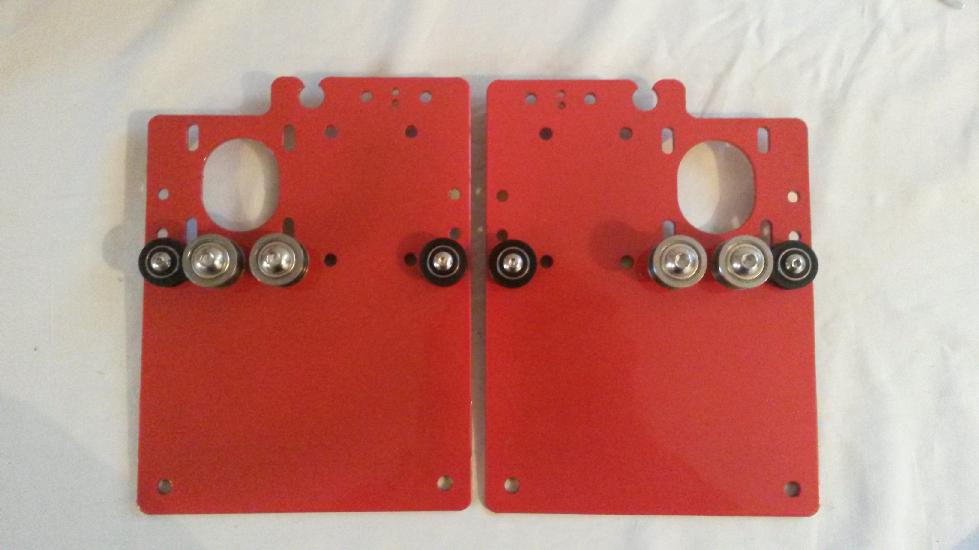
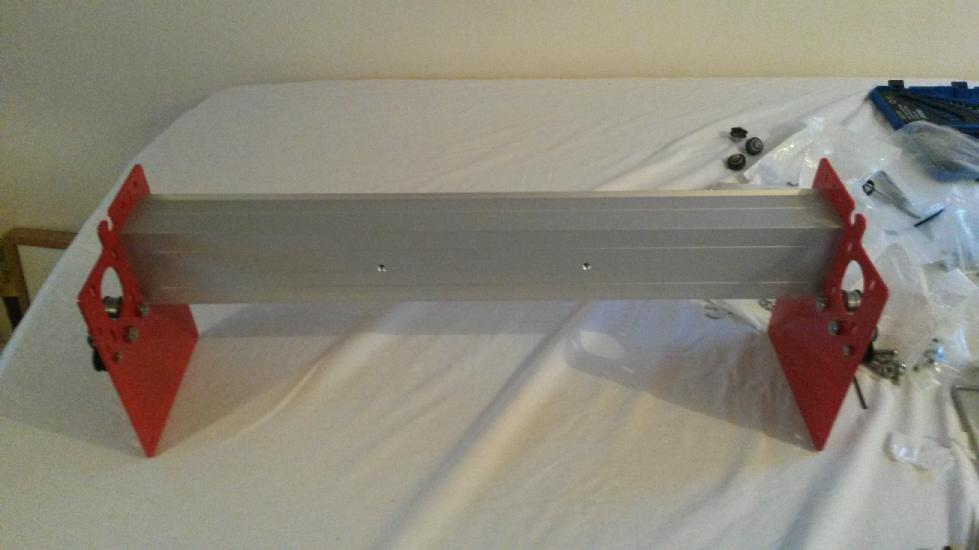
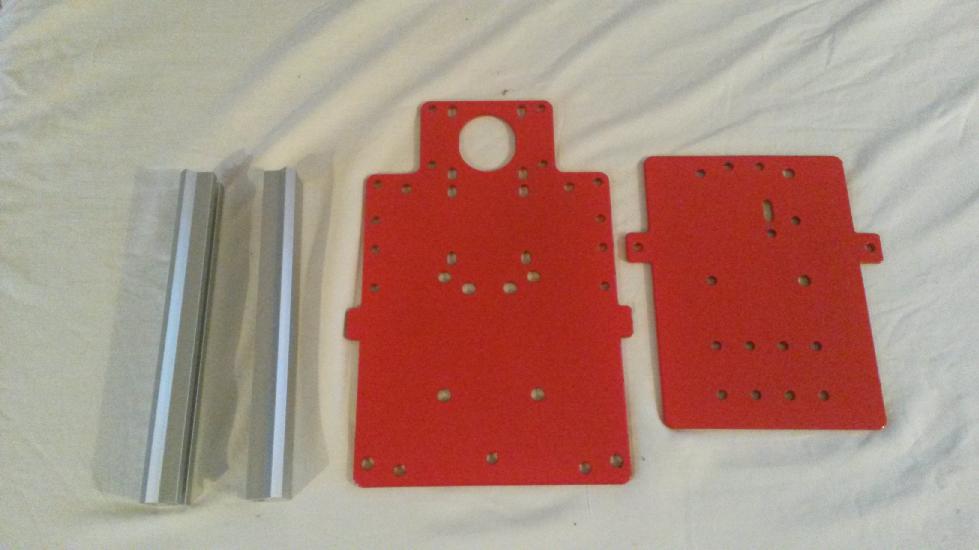
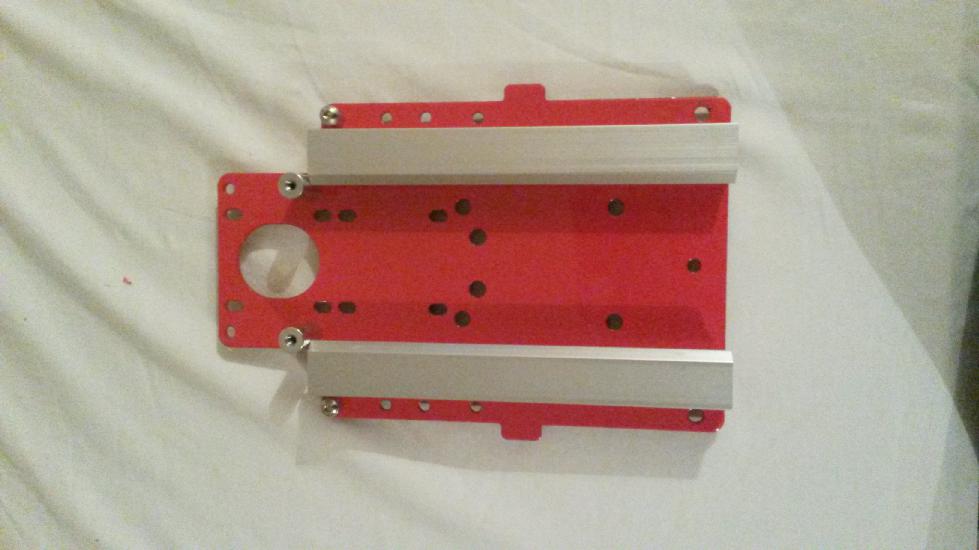
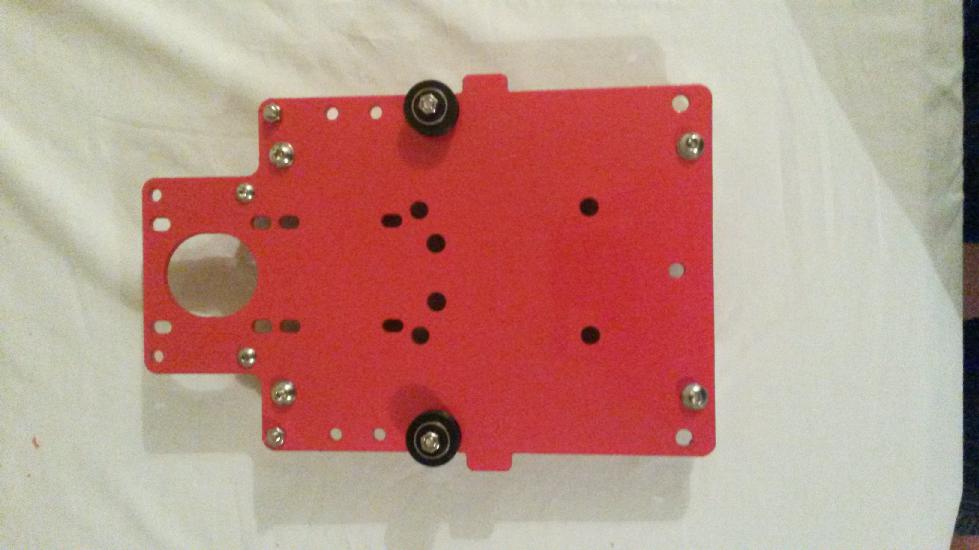
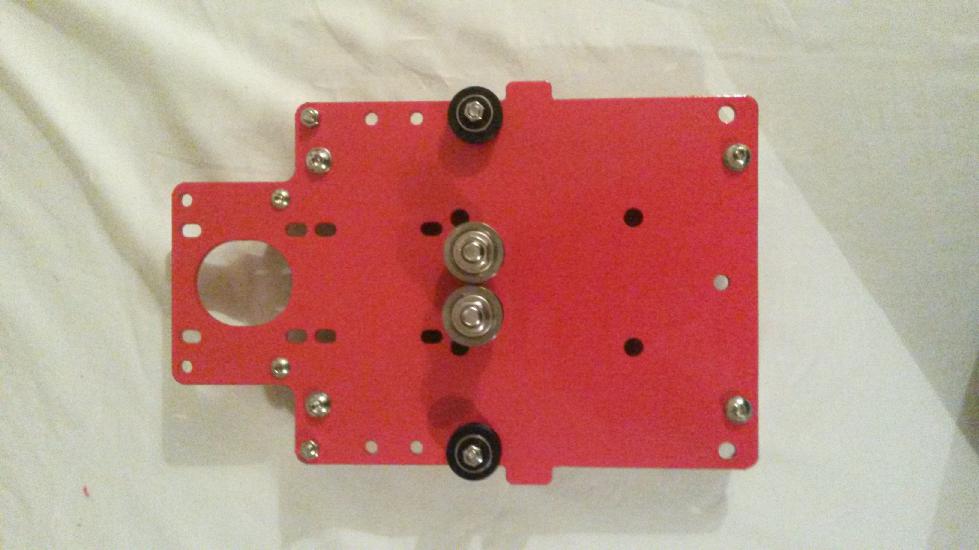
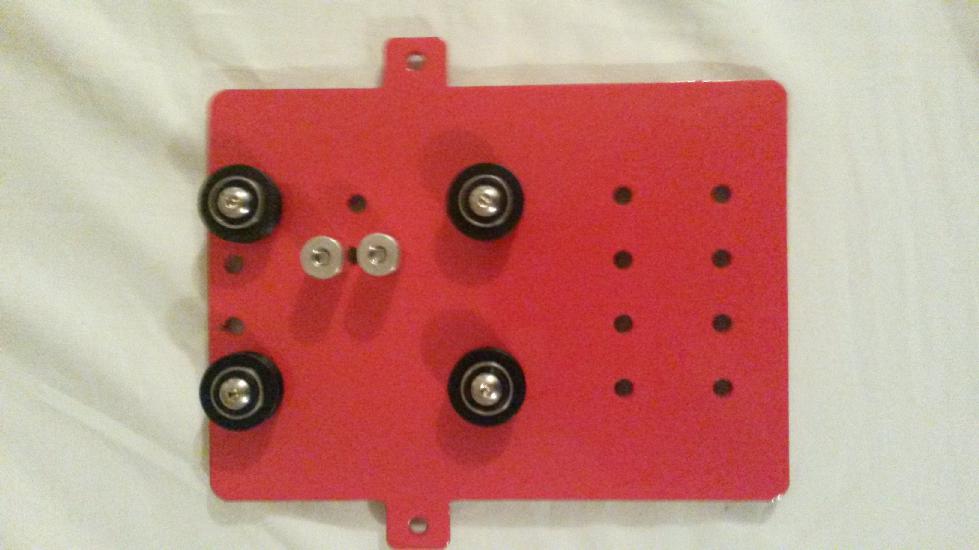
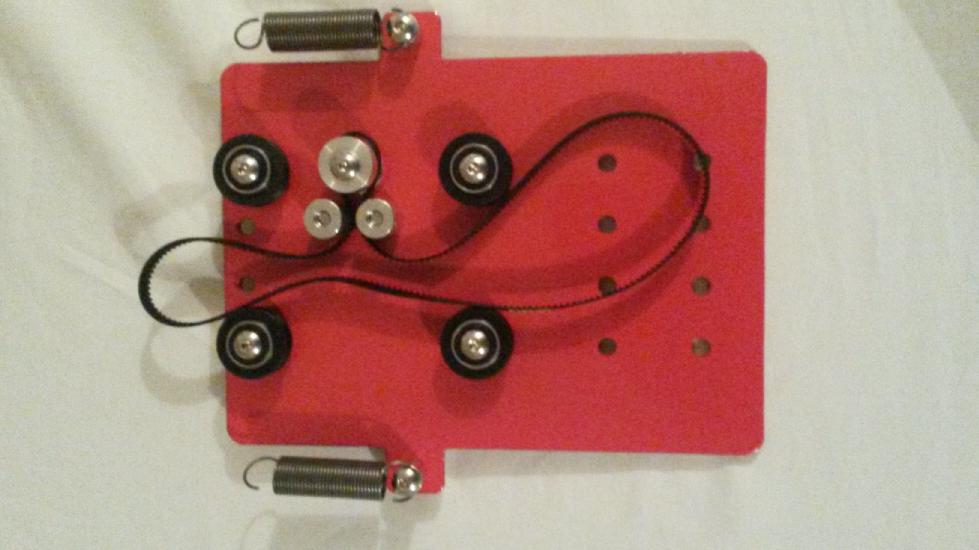
Constructing the base frame
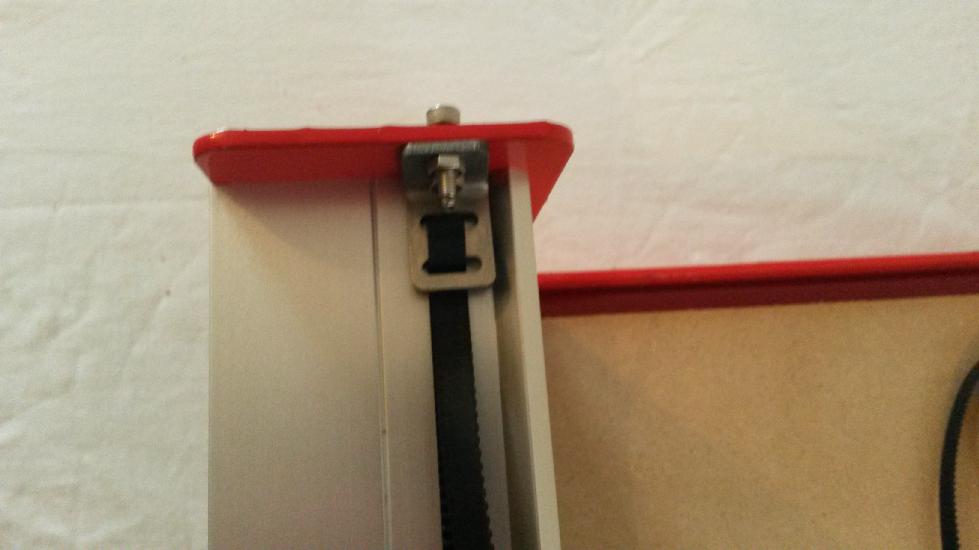
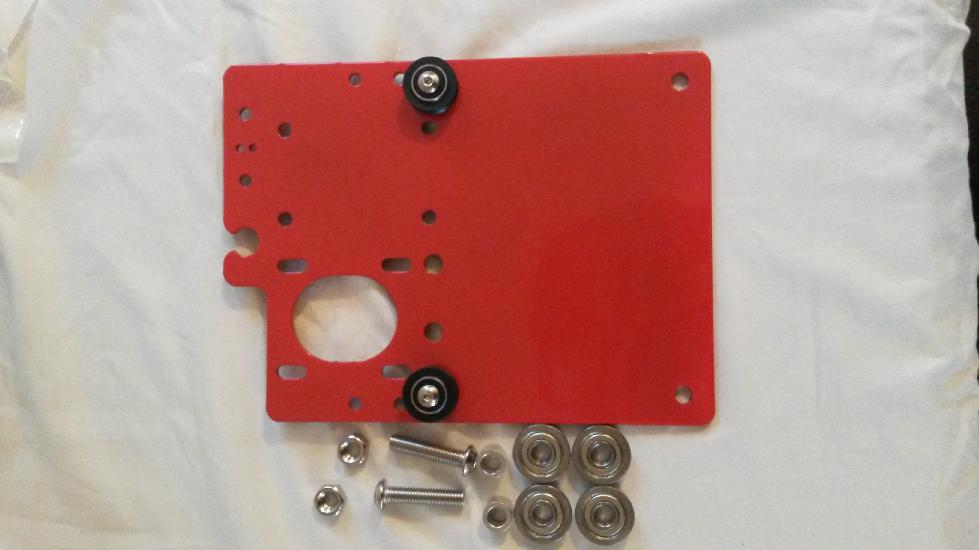
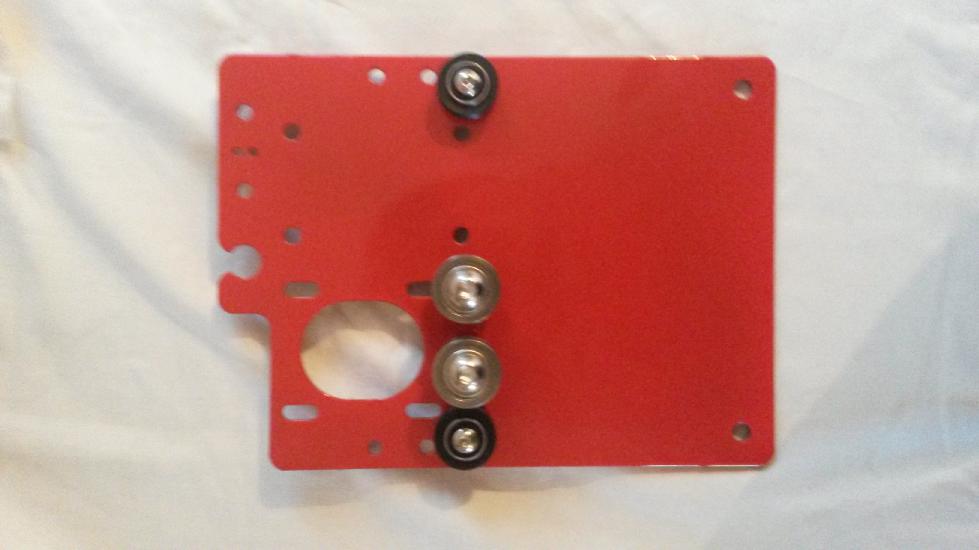

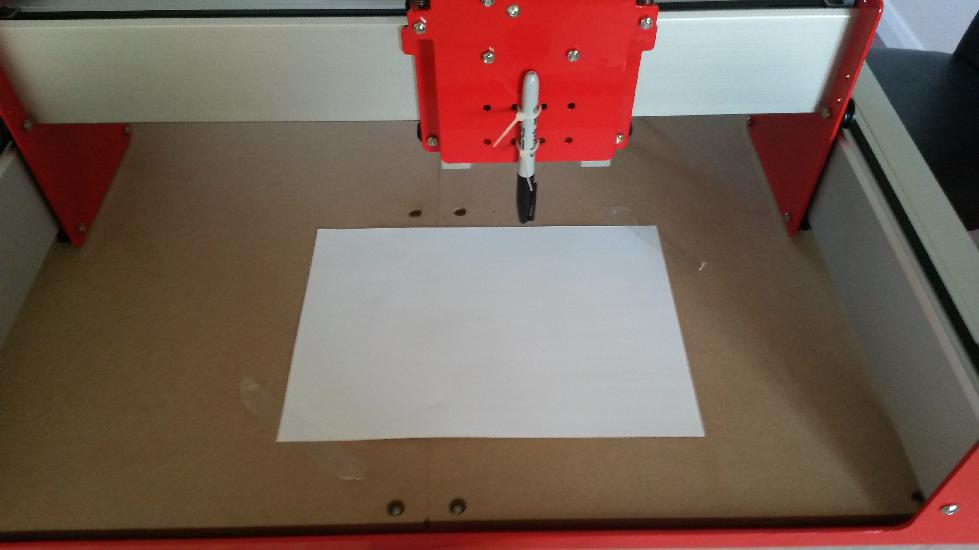
Making it move
There are a bunch of programs out there that can be used to control the machine. These programs essentially just know how the 'talk' to the GRBL controller through a simple serial interface. You can even talk to it from the Arduino IDE serial monitor if you want.
My intension was to create my own program to control the machine. So after testing it moved with the 'Universal Gcode Sender' I went about writing a simple program to get things going. This is often the best way to truly learn how something works in my opinion.
Serial ports
First, a very simple program to check what port the machine is connected to.
var serialPort = require('serialport');
serialPort.list(function (err, ports) {
	console.log(ports);
});
Connecting to the Shapeoko 3.
After finding the port it is simply hard coded into the test program. Here the code opens up a serial port with a few options. It then listens for the connection to open. When the connection has opened some console logging is attached to the event triggered when data is received. After 3 seconds it sends a simple Gcode command to move the machine 10mm in the x+ direction. The timeout is just a hacky way of making sure the Shapeoko has initialised and is ready to receive data.
var serialport = require('serialport');
var SerialPort = serialport.SerialPort;
var opt = {
	baudrate: 115200,
	parser: serialport.parsers.readline('\n')
};
var prompt = require('prompt');

var shapeoko = new SerialPort('/dev/ttyUSB0',opt);

shapeoko.on('open', function () {
	console.log('port opened');

	shapeoko.on('data', function (data) {
		console.log(data);
	});
});

setTimeout(function() {
	shapeoko.write('g91 g0 x10 y0 z0\n', function (err, results) {
		if (err) {
			console.log('comms error: ' + err);
		}
		console.log(results);
	});
},3000);
This one shot program just proves that a connection can be made and commands can be sent and understood by the controller. The machine is alive!
Multiple commands
Naturally sending one command isn't very useful. The next piece of code prompts the user for a command and then sends that off the machine and waits for the next prompt. Timeouts are again used in a hacky way to let the machine breathe inbetween, and send a response. A lot can go wrong with this program, for example, it doesn't stop you sending too many commands or handle errors. It does however highlight how easy it is to communicate with the Shapeoko and in particular the GRBL controller. This process could be enhanced and refined into a complete machine interface which is what I'm doing with the MAKEIT project.
var serialport = require('serialport');
var SerialPort = serialport.SerialPort;
var opt = {
	baudrate: 115200,
	parser: serialport.parsers.readline('\n')
};
var prompt = require('prompt');
var shapeoko = new SerialPort('/dev/ttyUSB0',opt);

shapeoko.on('open', function () {
	console.log('port opened');

	shapeoko.on('data', function (data) {
		console.log(data);
	});

	setTimeout(function() {
		prompt.start();
		function run() {
			prompt.get(['command'], function (err, result) {
				console.log(result.command);
				shapeoko.write(result.command+'\n', function (err, results) {
					if (err) {
						console .log('comms error: ' + err);
					}
				setTimeout(function () {
					run();
				}, 1000);
				});
			});
		}
		run();
	}, 3000);
});