Published: 28-12-2015
Prep
The plug is wiped down removing any dust or particles left remaining on the surface. Mould release wax [1] is then applied as per instructions, 3 to 4 coats were sufficient. After the final buffering a PVA mould release agent is applied using foam jenny brushes [3]. The agent is continually brushed until dry to prevent 'fish eying' which occurs as the agent is repelled by the wax. The release agent was left for a further 30 minute to make sure it was fully dry.
Gelcoat
A tooling gelcoat [4] was used as the first layer of the mould. Roughly 500-600 grams are mixed for every sqm of mould area depending on the thickness required. It can be applied as one thick layer or several thinner layers. Catalyst should added as per the instructions, 1.5% was used. The gelcoat is left to cure to a tacky state where the first fibreglass layer can be added.
Reinforcements
A layer of polyester resin [6] is brushed on and a layer of 300gsm chopstrand fibreglass [5] is placed on top. 300gsm is the heaviest fabric that should be used for the first layer. The matting is then wetted out using brushes and a stippling motion until see through (the gelcoat should be visible). Rollers [8] are used to help push out any air that may be trapped in the laminate. This first layer is left to cure hard (1-2 hours), this is important as it helps reduce shrinkage of the mould. After cured hard two more layers are added in one session. Should more layers be needed they should only be applied 2 layers at a time to prevent too much heat from being generated. A good but slightly more expensive alternative to using [5] is to use the optimould system [7] which requires all layers to be applied in one session.
Extra reinforcements such as paper rope [8] or wood can be laminated in to provide extra strength and stiffness without adding many more layers of fibreglass. While the final layers are curing and are a leathery texture the sharp glass edges should be removed using a stanley knife.

Making the Final Laminate - Prep
The female mould should be left for a week or so to fully cure, ideally it should be post cured at a high temperature. Removing the plug can be made easier by using compressed air and water (to dissolve the PVA release agent). Once removed the female mould should be cleaned using soapy warm water. Any surface imperfections should be sanded or filled. The mould can then be polished to a high gloss using the appropriate cutting polish. Once polished the release wax [1] should be applied the same way as done for the female mould. The same goes for the application of the PVA release agent [2].
Gelcoat
The gelcoat [10] was applied in the same way as for the female mould except there were issues with running and so 2 coats were used. The supplied instructions were used to calculate the correct ratio of hardener to use. Once cured to a tacky state the fibreglass layers were added.
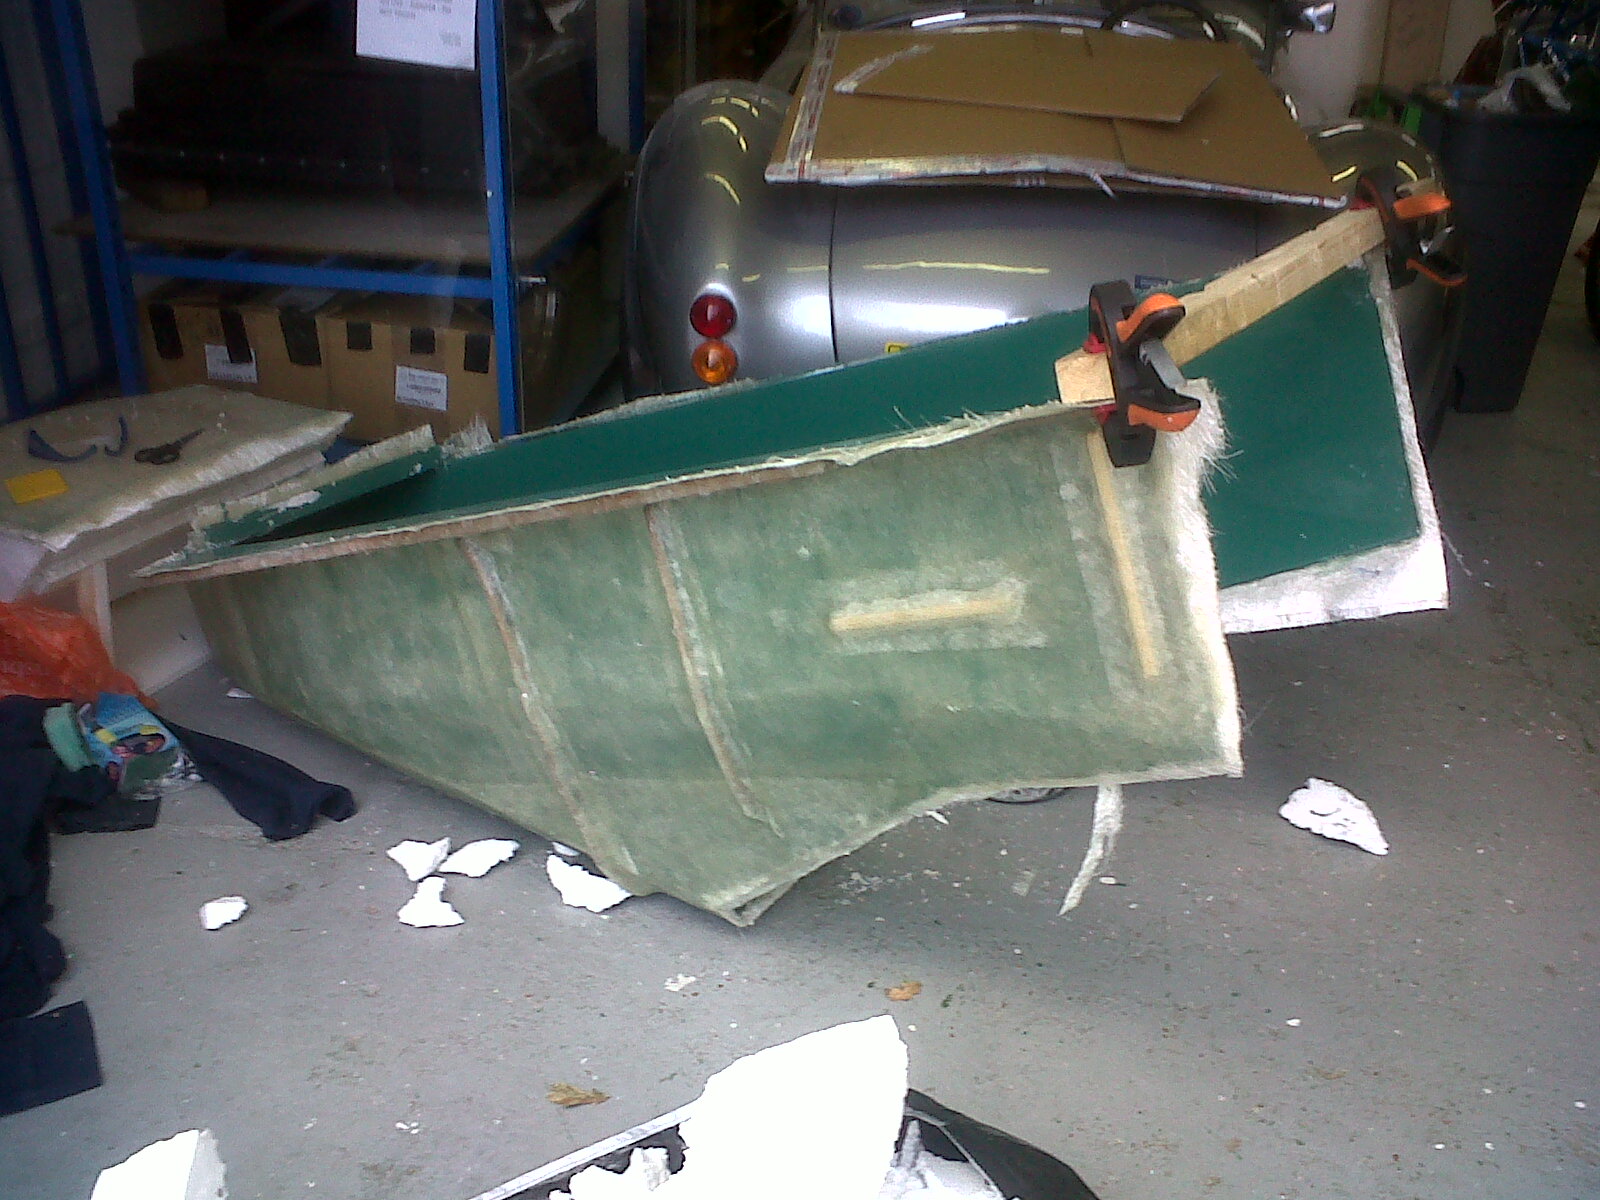
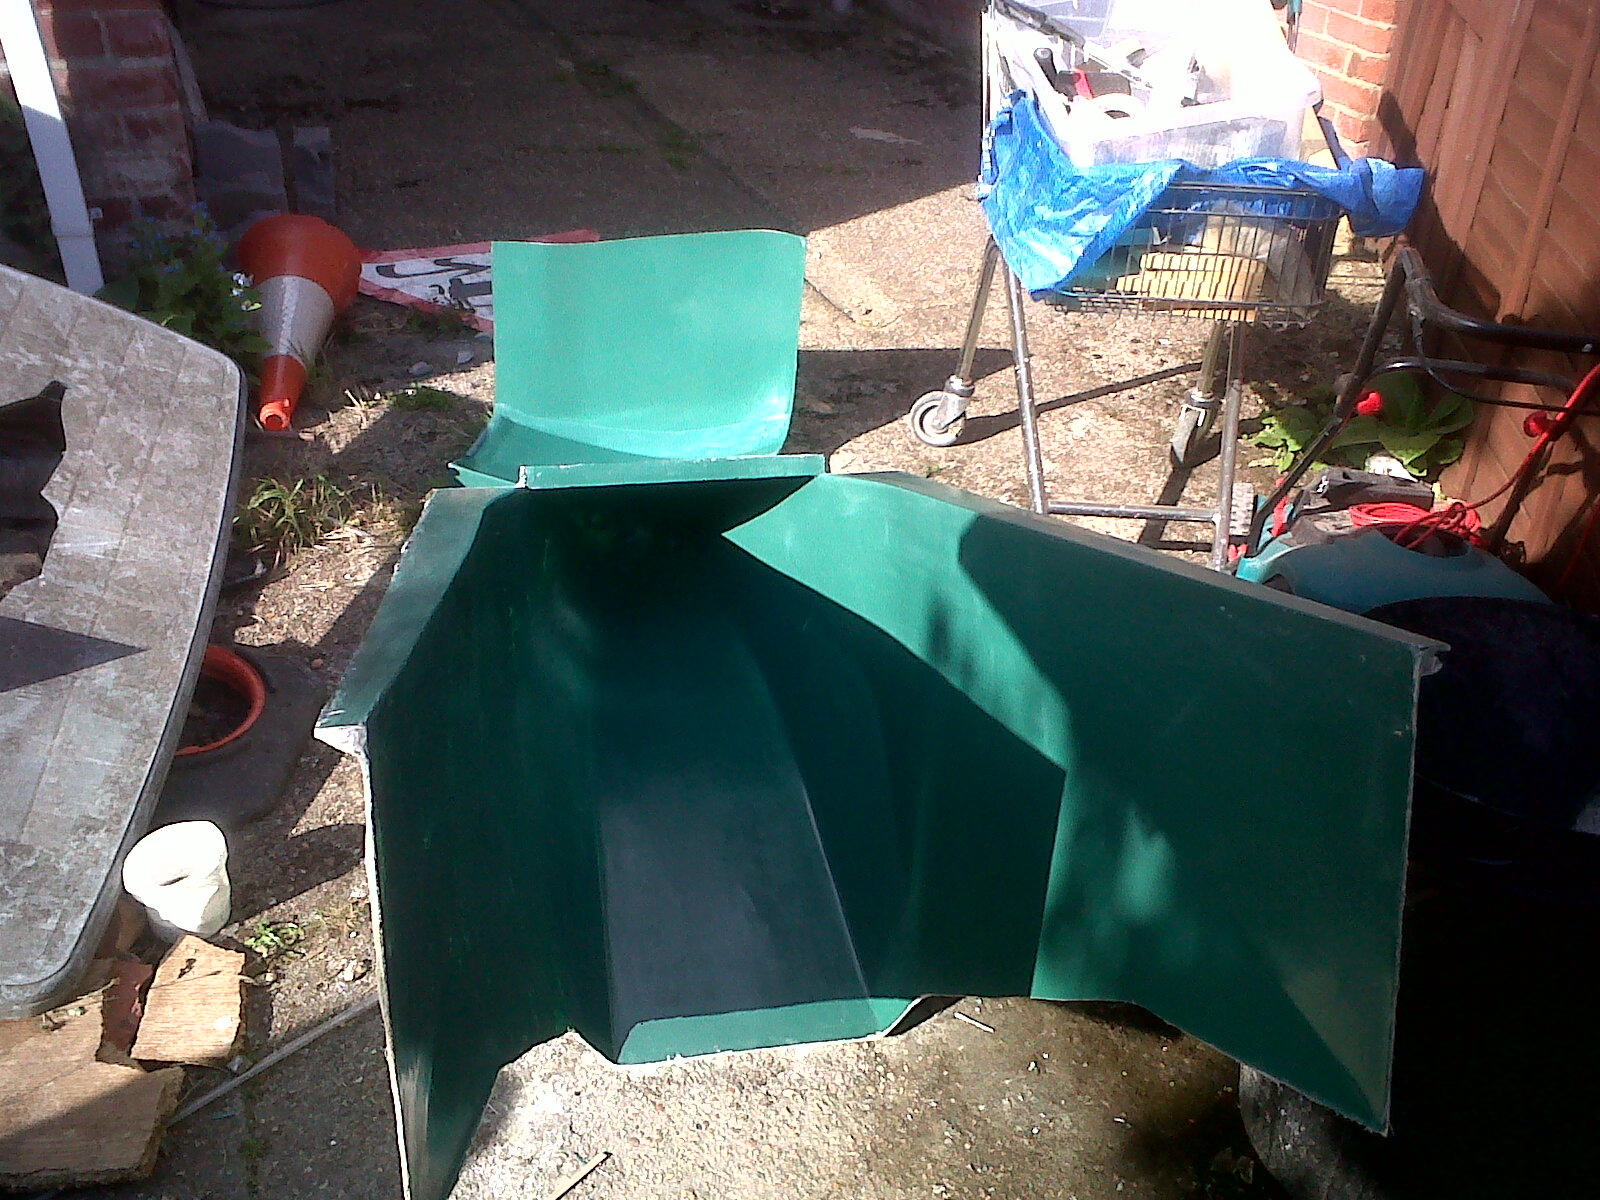
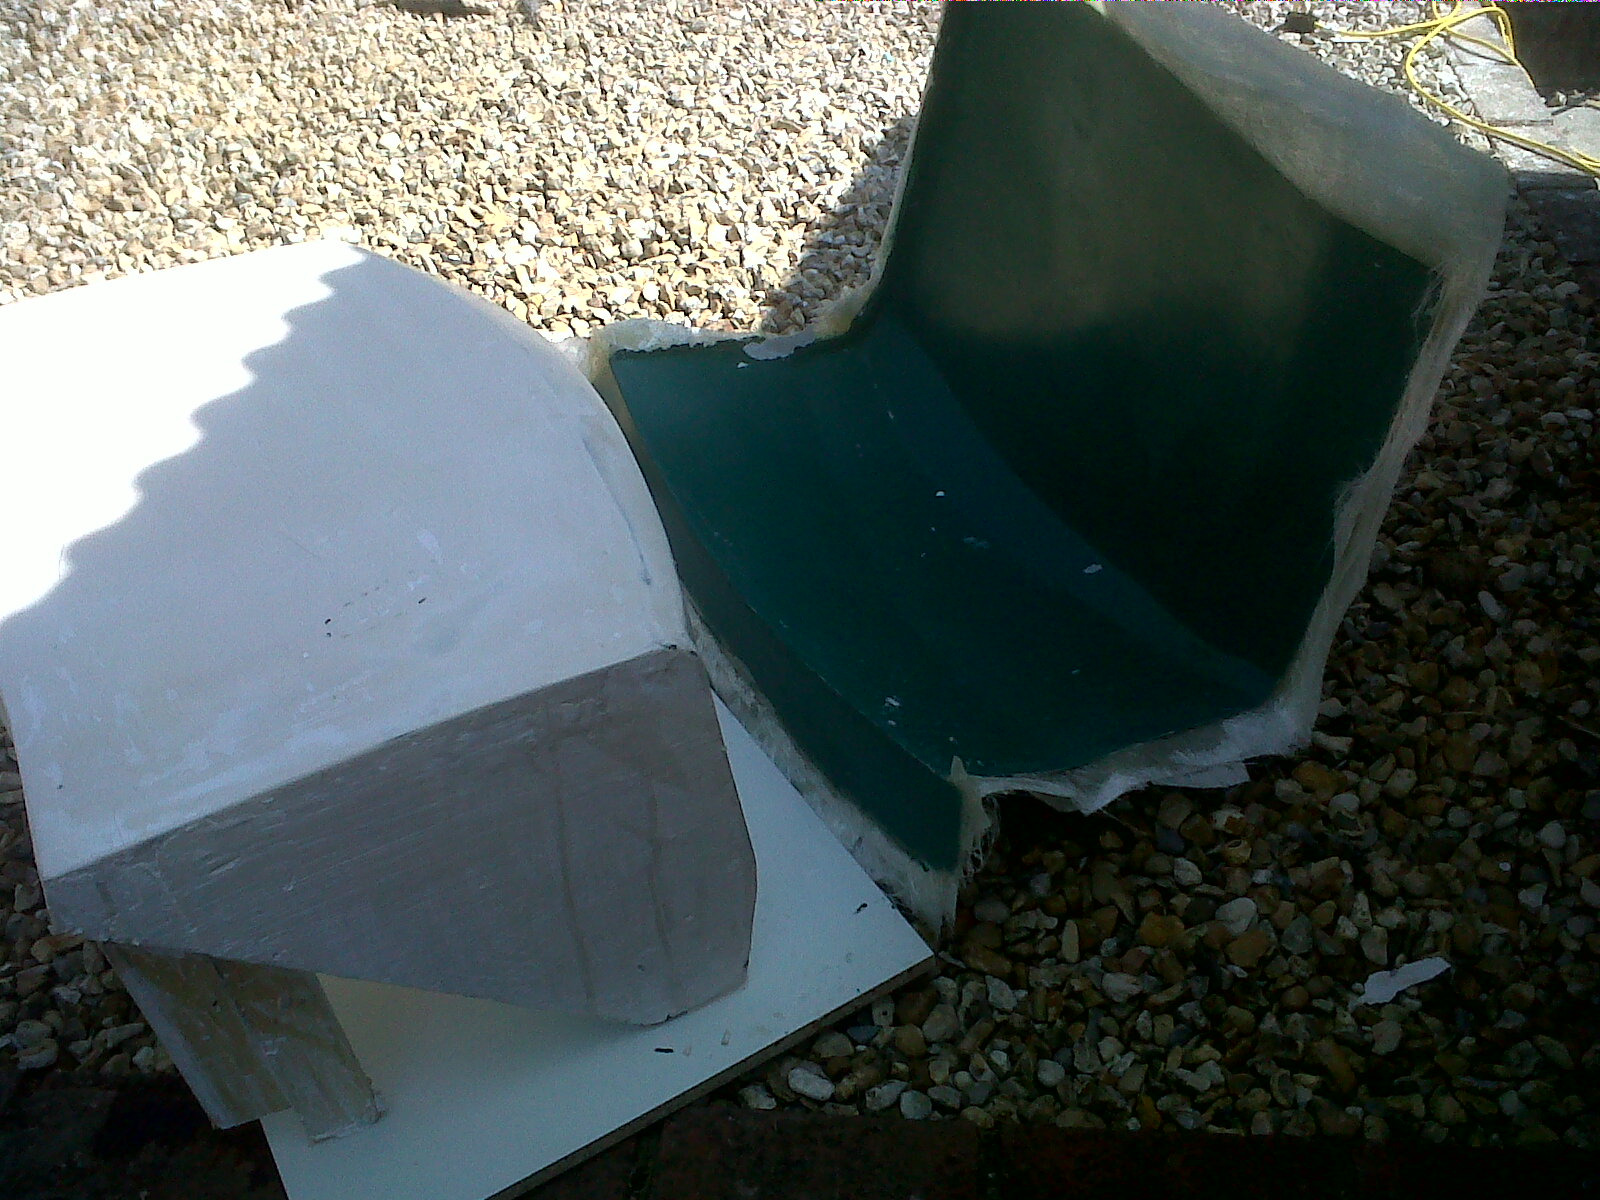
Laminate
Layers of fibreglass were pre-cut to the correct size using templates created from the female mould. The amount of pigmented epoxy needed was calculated using a 50/50 fabric to resin ratio (roughly standard for wet layup). The epoxy was brushed down and a layer of fabric placed on top (brushing on resin first allows easier wetting out and causes the fabric to adhere to the moulds shape). A roller [12] was then used to wet out the fibreglass and remove trapped air bubbles. 50mm strips of fibreglass tape [13] were used to reinforce the edges and delicate areas of the laminate.
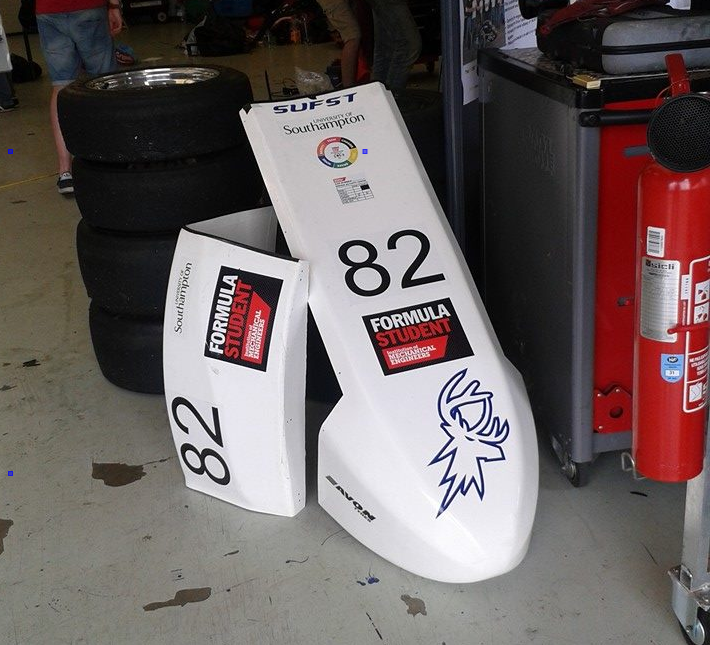
Finished Bodywork


Some thing's I've found out the hard way:
- 10 minutes work on the plug = hours of work on the mould/final part, so get the plug right.
- Don't go easy on the PVA release agent, if unsure whether an area has been covered do it again.
- Trim the sharp edges before fully cured, it is much easier and safer.
- Hacksaw blades work well for cutting very straight lines.
- Paint the outer jesmonite layers with as much finesse as possible = much less sanding.
- Where possible use a power/air sander.
- Leave extra material on the edges as material is lost when trimming (final part is smaller than the female mould and the female mould is smaller than the plug). Make the plug bigger than the required final part size.
References